
Hello all! I've been in a bit of a sewing rut lately. I'm on my summer holidays with tons and tons of spare time, but I haven't been able to get motivated enough to sew. I'm sure that after my operation that it will be all I want to do! However, it turns out that all I need is to force myself to get started on something and then my mojo is back. I cut these Turia's out on Saturday, sewed them up on Sunday and wore them on Monday!


The day when I leave for uni is fast approaching and I've realized that the clothes I wear everyday will be scrutinized by professionals, which has been a nudge to make everything as neat and tidy and proffessional looking as possible! The instructions call for flat-felled seams but I haven't had very good experiences with them in the past. Instead I did french seams for joining the bib and the inside of each leg seam. They were then top-stitched to look like flat-felled seams. This worked really well, and I'd definitely use this method again.

If I was going to all of the effort with french seams, I wanted the rest of the insides to be as nicely finished as possible too. Rather than change my overlocker to white I opted to do A LOT of handsewing, which probably took double the time it would have to rethread it. Oh well, they do look fab on the inside now. The sides of the bib were turned under twice and top stitched.

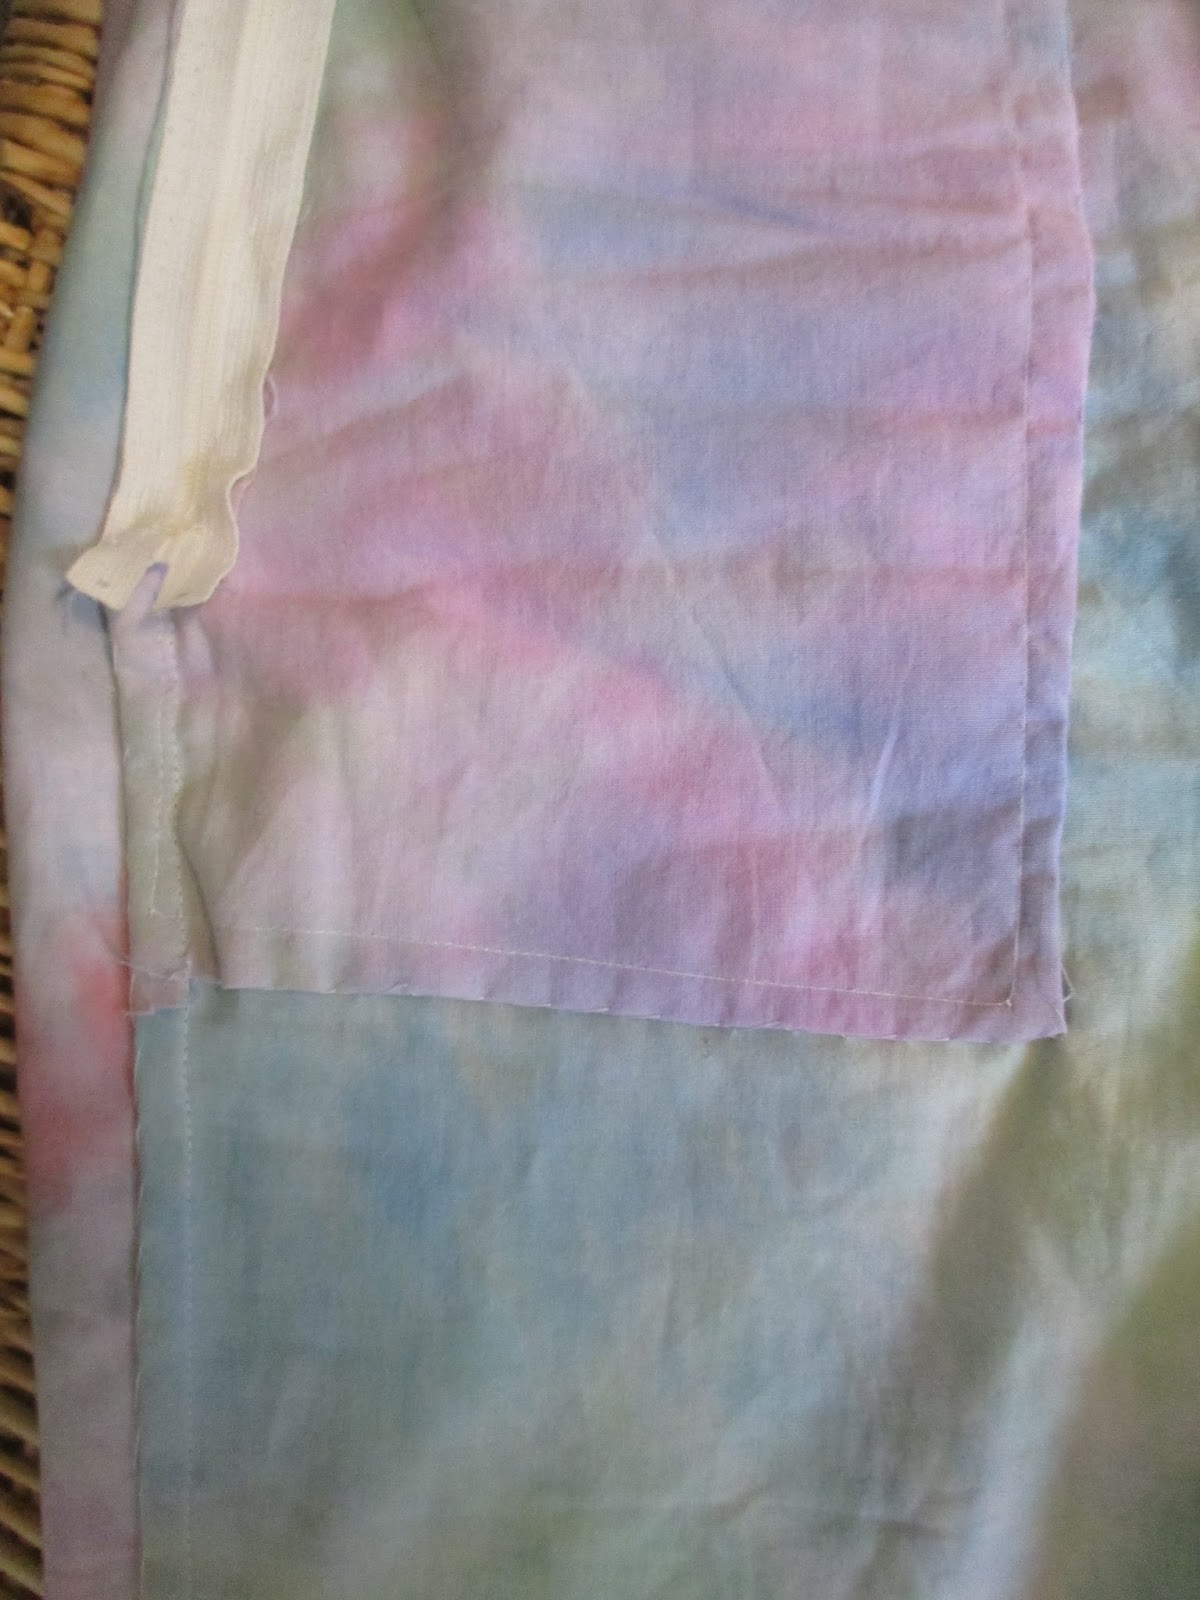
For the pockets, I trimmed away the seam allowance of the underlayer
and folded the outer layer under, which was slip-stitched to give a
clean finish. The pocket on the left was slipstitched all the way around
to the trouser piece. The right hand pocket was left loose, and instead
was just secured at the bottom left hand corner to keep it in place. It seemed a shame to have really nicely finished inner seams, but badly finished outer seams so I did a handstitched flat-fell seam for those.
The curved seams at the back were turned under twice and slipstitched but I still did the top stitching, to fit in with 'the dungaree look'.


Lauren xx