Sunday 30 November 2014

Grey Suit Part 3: The Dress

All parts of my suit are finally done! Yaay! I wanted the final part to be a dress with a full skirt so I could move around freely in drama lessons. I don't know whether you've tried doing drama or sitting cross legged on the floor wearing a pencil skirt, but I can tell you now that it doesn't work very well. 
The design of the dress was dictated entirely by how much, or rather how little fabric I had left after the blazer and the skirt. I was determined to have a reasonably full skirt so I went with a half circle. The bodice is princess seamed because the pattern pieces took up less space than my darted bodice block. It was a heavily altered vogue 2370 dress which I just cut off at the waist used for my robin hood costume here and stardust costume here.
 The center front did have to have a vertical and horizontal seam, as did the back. Everything was overlocked, and the arm and neck holes finished with bias binding. The hem was overlocked and turned over once and the dress is fastened with an invisible zip.
It'll be good to wear with tights and shirts underneath for the winter months and without for the summer months so hopefully it'll be a really versatile piece.
Thanks very much for reading and to Ed for taking pictures, JUST before it got too dark.
Lauren xx

Thursday 27 November 2014

Deconstruction Fashion using mens shirts

 My latest textiles project was  to make a piece of clothing from pieces of existing clothing, known as deconstruction fashion. Aspects of the original garments should remain. To start, I removed all of the collars and cuffs from several old men’s shirts. The cuffs were set aside for later. I buttoned 2 contrasting collars together and placed them at the waist of the mannequin to form a waistband. They were overlapped at the back which formed interesting geometric shapes with the points of the collars. I placed another 2 collars underneath, making a waistband which unbuttons at the front consisting of 4 collars from different shirts.

 Next I ripped all of the shirt backs, from the shirt and sewed them together side seam to side seam. I kept the hems of the original shirts which gave varied shaped hem lengths. The long line of shirt backs was then gathered at the top and sewn to the collar waistband to form a skirt.
I took a left front and right front piece from contrasting shirts and buttoned them together, pinning them to the mannequin. The shoulder seams were gathered tightly to form straps, resulting in a V neck. Strips of fabric were braided together which formed straps at the back and also down the side of the bodice, giving a bit of detail to the ensemble.
I think the final garment looks wearable which is good if you want to sell your products. I am also glad that you can still see the origins of the shirt in the waistband of the skirt. The quality of stitching is not very good, and isn’t very stable which could be improved with a bigger timescale. The front bodice wrinkles as a result of poor fit, which maybe darts could improve. Overall I'm really happy with it. I felt like I was on project runway while making it and I had so much fun!

Thanks for reading and to Ed for the photos!
Lauren xx

Sunday 23 November 2014

A Lace Francoise

A friend of mine is having a 20's inspired party for her birthday, and obviously I wanted to make a dress for it. It would be inspired by the 20's but with a bit more shape because that's how I like my dresses to fit. Cue Tilly's new sewing pattern Francoise. Although the party is in March (I know...) I wanted to get cracking on the dress now in time for the competition and Mum's birthday meal!
The original design was for a scallop hemmed overdress with a flounce sewn to the lining which would show underneath the overdress. This didn't quite work out so I had to go to plan B, as illustrated colourfully below.
I had lots of excess in the bust area of my first muslin, and the darts were too low down.
I unpicked the darts and moved them higher up and hey presto, it fit!
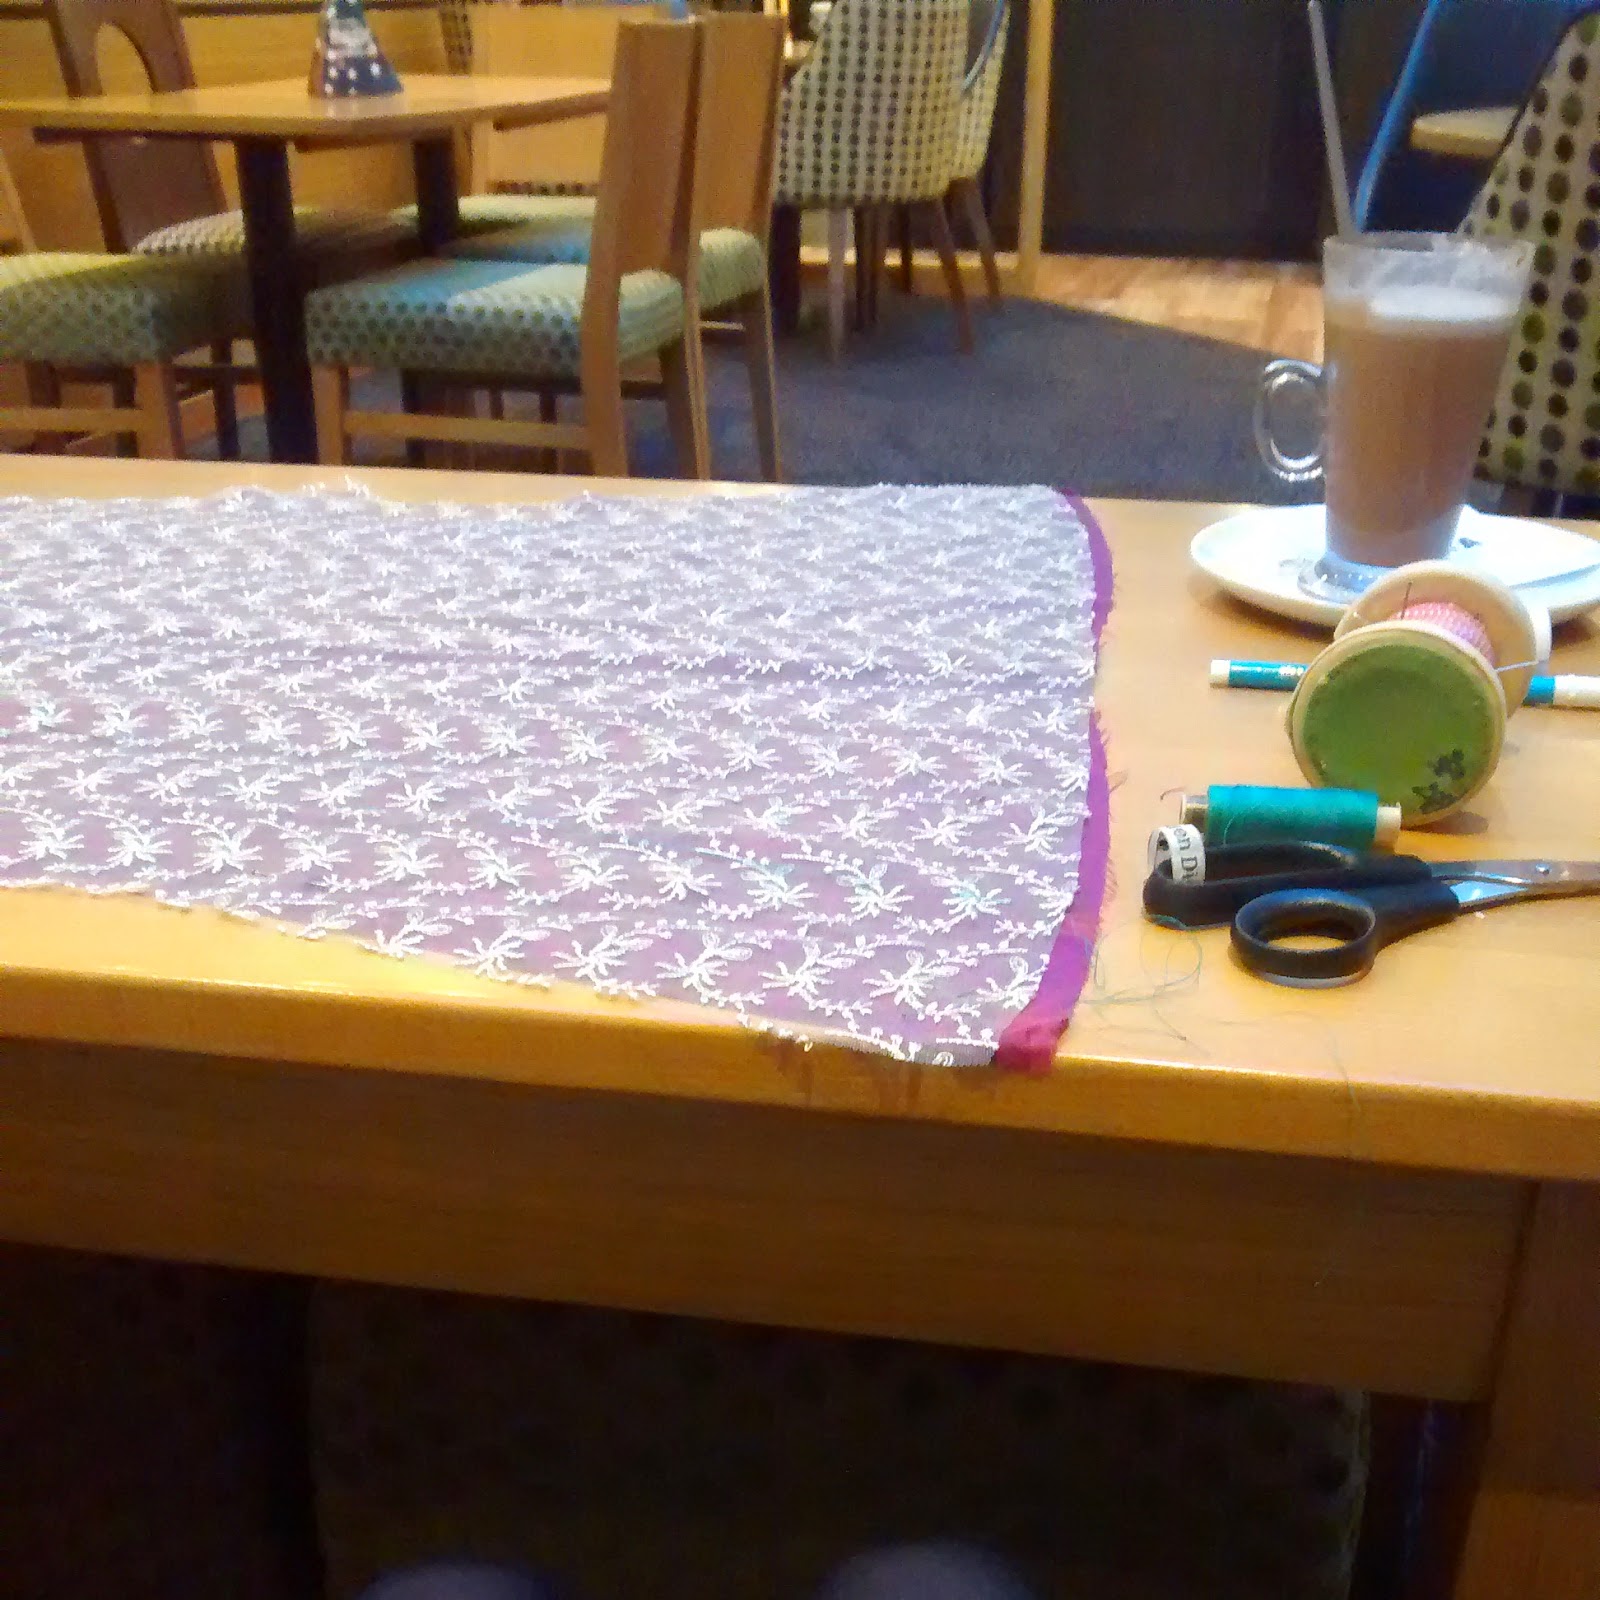
I choose to make my Francoise with a beautiful gold lace found in a vintage charity shop (5 pounds for about 2 metres) paired with a red underlining. Even though it's quite a simple dress to make, the time it took me to make it was doubled due to basting the lace together to the underlining to make sure nothing shifted around. Below you can see me starting off that process in costa before school with a hot chocolate with cream and marshmallows. Obviously by the time I got round to taking the pic, the cream and marshmallows were long gone.
I then sewed the dress together and scalloped the hem in accordance with the lace pattern, as seen in the pic below.
As seen in the design above, it didn't work with the flounce attached to the lining so I evened out the hem and attached the flounce to the outer layer instead. This, however made all the proportions wrong.
To fix this I took a chunk out of the seam where the dress hem and the flounce met and now it's just the right length!
Being a bit strapped for cash at the moment, I salvaged a burgandy invisible zip from a prom dress that we found in a charity shop a couple of years ago that never fit right.
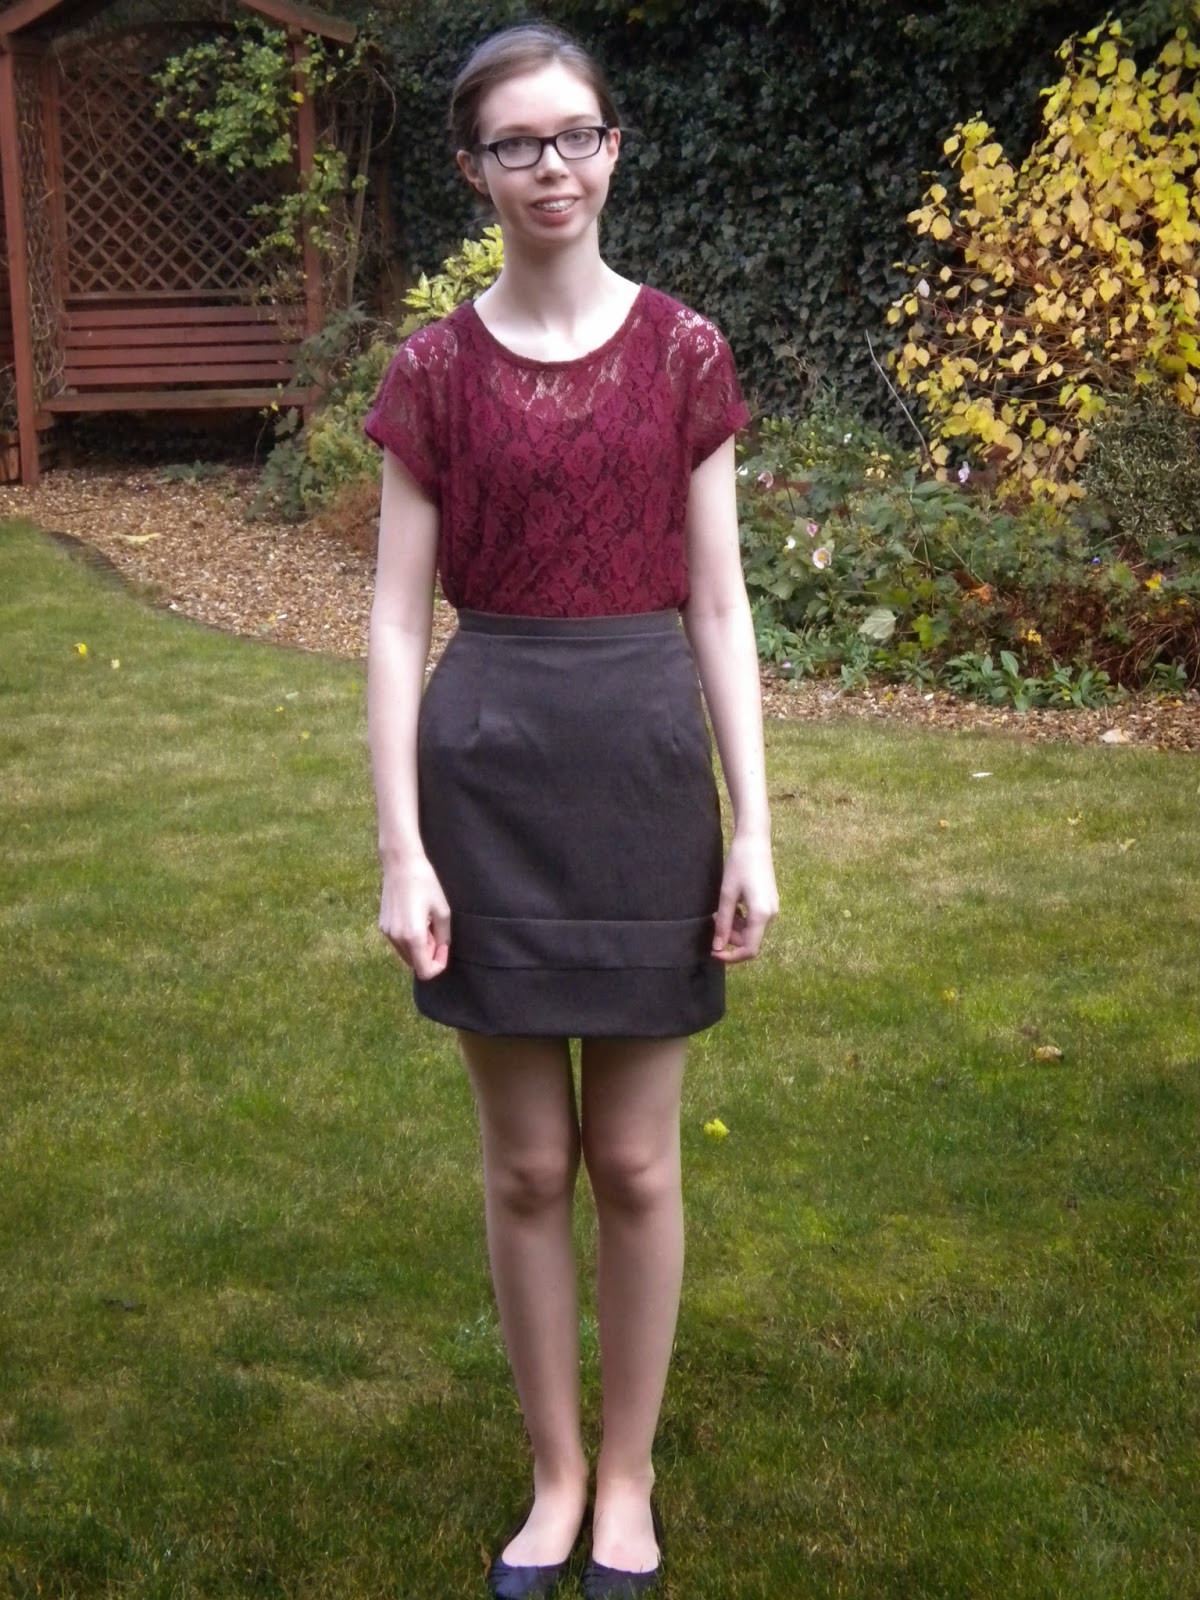
This dress makes a nice change from my usual fit and flare silhouette. I can see more happening in the future.
Thank you very much for reading and to Ed for taking the pictures!
Lauren xx


Sunday 16 November 2014

Dotty Shirtdress

I'm calling this dress a shirtdress even though it's collarless, so I'm not sure if it fully qualifies to enter Mary of Idle Fancy's Autumn of 1000 Shirtdresses but I'm joining in anyway!  The only reason why this dress became a button down dress was because I didn't have any matching zips, but I'm so glad that this was how it ended up.
This was what I had in mind for the dress, using the same self drafted pattern as the V&A dress, making it a V neck and adding room in the centre front for buttonholes. The fabric is a viscose I bought in Birmingham whilst there for a concert at one of the market stalls for a fantastic 2.50 per metre (I bought 2 metres). It was in Birmingham that I bumped into one of my readers for the first time!
I first traced the original pattern, then I changed the neckline to a V. I then added 1 cm which was the button width and 1.5cm seam allowance. I also did that for the front waistband piece. The back pieces I kept the same as they are cut on the fold.
For the facing I pinned together the front and back shoulder seams and traced the neckline curve, then I drew straight downwards for the length of the dress. Mine wasn't long enough, I think I added about 15cm on the end. I added seam allowance for the centre back.
Then I sewed it all up, treating the facing as you would a normal one. I added 2.5cm to the front skirt width. 
This dress has turned out quite loose compared to the first one which is interesting, probably down to using the lightweight fabric. 
The shaped waistband gets a bit lost in the print, so I'm wondering about doing some white top stitching to make it a bit more obvious. The armholes were neatened with bias binding and I top-stitched the facing down to make sure that it stays down. The waistband is lined like the last one.
Thanks for reading and to Ed for taking the pictures!
Lauren xx

Sunday 9 November 2014

Grey Suit Part 2: The Blazer

 After a fair few issues my blazer is finally finished! I adapted the Deer and Doe Pavot jacket pattern for the third time, this time drafting a shawl collar and double breasted aspect to it. It was originally going to be mid-hip length and tied at the waist but that didn't work out so I cropped it instead.
As this was my first time drafting a shawl collar I did encounter some issues. There were drag lines at the collar as I hadn't allowed enough ease. To fix this I snipped into the collar until the drag lines were gone, so it isn't as wide as it was supposed to be!
The blazer closes with a magnetic snap, which you usually find on bags.
I've only just noticed when looking at the photos that the sleeves are having major issues which is sad. Next time I'll pay more attention when setting them in.  The rest of the back seems to fit alright.
I fully lined the blazer with some amazing floral silk in my stash. I did bag it, but one of the sleeves got twisted and the hem was wrong so they both got unpicked, sorted out and slip stitched back together meaning that only one of the sleeves is clean!The facing was also slip stitched in.
That's it for this week. Thank you Edward for taking the photos, and thanks for reading!
Lauren xx

Sunday 2 November 2014

Grey Suit Part 1: The Skirt

So, today I was planning on showing you my blazer, but unforeseen difficulties mean that you'll be seeing it next week instead. Instead you can feast your eyes upon the skirt part of the suit.
 You may be thinking oooh panels, what an interesting design feature! I was short on fabric so had to improvise. I had 3 metres of this grey suiting.  I used a metre to half make a blazer last year which really didn't work out well leaving me with 2 metres. From this I decided I wanted to make a new blazer, pencil skirt and dress consisting of a princess seam bodice and a half circle skirt. And I think I've just about managed it. The first "stripe" was from the under-sleeves of the first blazer and the hem band was salvaged from the peplum of said blazer. The first "stripe" had to be sewn on the cross-grain  which is why there's a bit of a change in colour.
I did have a few issues with the skirt, mainly with figuring out where the darts were because they weren't marked on the pattern pieces I had. I think I got them okay in the end. The back is a bit wrinkly but I'm not quite sure why. I did put a bit of a slit in so I can move about easily. The zip is handpicked. 

I'll see you next week with my blazer. Thanks to Mum for taking the photos.
Lauren xx